The Basic Settings are the most common menu options changed by users. Each of the Basic Settings has an icon on the mower, which is lit to indicate the selected menu option.
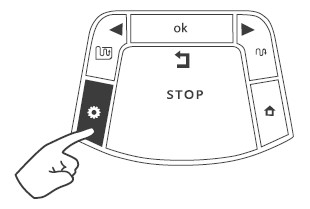
To change Basic Settings, press the Settings button to enter edit mode.
TIP: Some settings are defined per zone. This is how zones are named:
L1 – Main Zone
L2 – Separated Zone A
L3 – Separated Zone B
L2 – Separated Zone A
L3 – Separated Zone B
A1 – Sub Zone 1
A2 – Sub Zone 2
A3 – Sub Zone 3
A2 – Sub Zone 2
A3 – Sub Zone 3
Every press of the Settings button will move between the following 4 menu options:
 | Time and Date Sets the current day and time. |
 | Mowing Hours Adjusts (by percentage) the mowing time allocated for your lawn size. (Learn More) |
 | Inactive Time Sets specific days or hours as “mowing-free” time. (Learn More) |
 | Lawn Area Updates the size of the lawn in case it has been changed. |
How To Set Mowing Hours
- Press Settings twice until the Mowing Hours indication is lit.
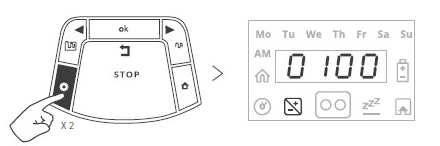
- Use the scrolling arrows to adjust the allocated mowing time (in %) and press OK to confirm.
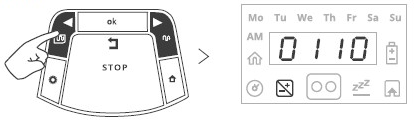
The default value of this setting is 0100 (100%). It can be changed from 0050 (50%) to 0150 (150%). Example: A value of 110% means that the mower will run 10% more time on your lawn.
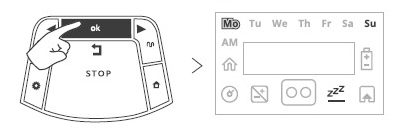
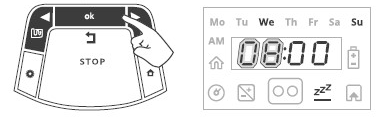
How To Set Inactive Time
- Press Settings three times until the Inactive Time indication is lit.
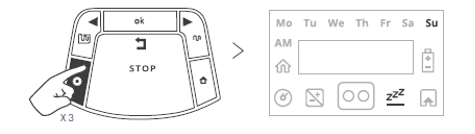
- Press OK. “Mo” will start blinking.
- Press the RIGHT or LEFT arrows to scroll to the days you want to set as inactive. Press OK to toggle between “Active” and “Inactive” options for that day.
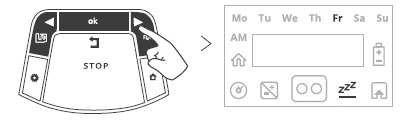
If the specified day’s LED is lit, the mower will stay in the Base Station all day. However, if the LED is off, the mower is available for mowing. - Scroll through all the days to the right until Inactive Hours starts blinking.
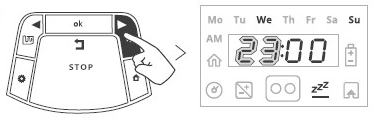
- Set the time at which the Inactive Hours start and press OK.
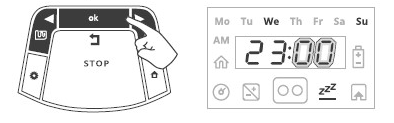
- Set the time at which the Inactive Hours end and press OK.
Plan mowing times for safety
Always make sure that the mower is set to work when the lawn is vacant. In addition, always set “mowing-free” times when people (especially children) or pets may be found in vicinity.
TIPS:
- The mower will not operate during the Inactive Hours throughout all days of the week.
- If too many days/hours have been deactivated relative to the zone area, the “E8” (Decrease Inactive Time) will be displayed – you need to decrease the amount of inactive time so that the mower will have enough time to mow your lawn.
- To set the Inactive Hours to Off, set the same time for the start and the end (i.e.: 00:00 to 00:00).