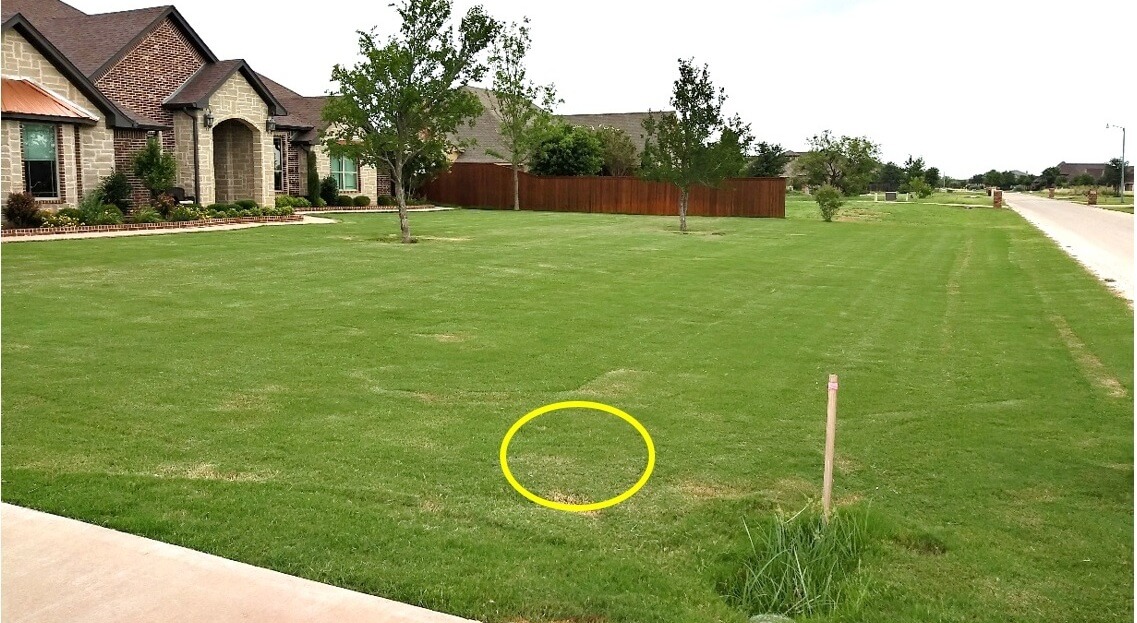
Look for areas of recent yard work, edging, or changes. That’s typically where the wire gets cut. Once found, fix the wire with our original blue silicone-filled splice.
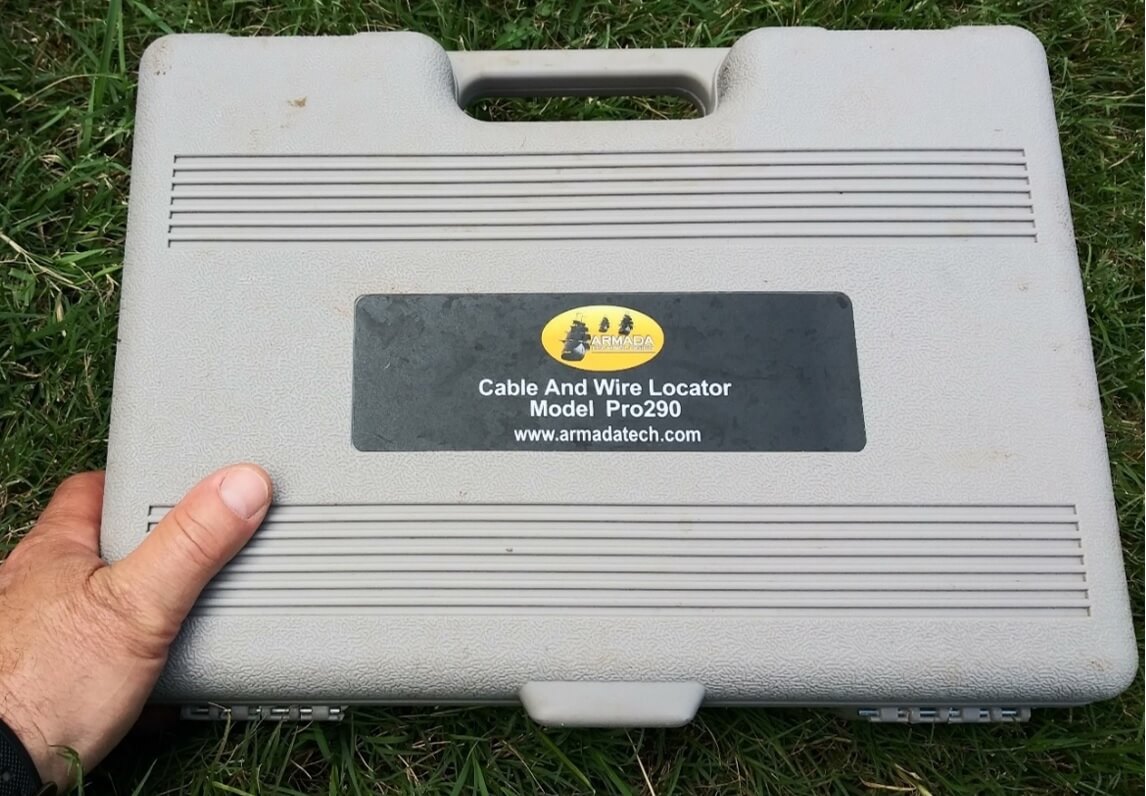
We recommended using a cable and wire locator tool to find a break in the wire. One that works well is the Pro290 by Armada. Click here to watch a video on how to use the device.
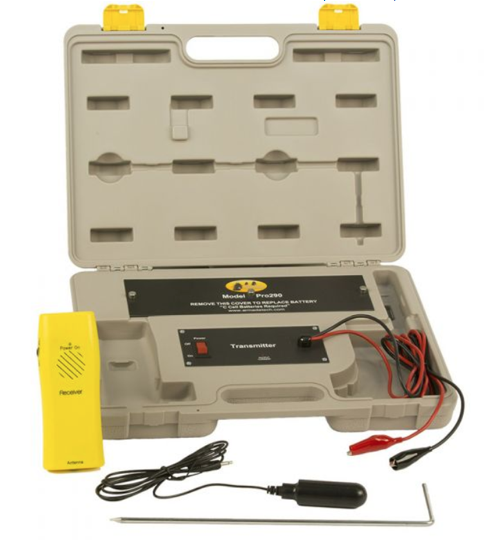
Even though the video demonstrates the Pro300, it functions the same as the Pro290 . When using it to locate a cut in the wire, if the antenna is above the solid/intact wire you will hear beeping. Once above a cut/break in the wire, the beeping will stop.
Step-by-Step Procedures
- Disconnect one end of the perimeter wire from the plot green connector attached to the base station; preferably the right side, coming to the base station the same direction the mower returns to dock.
- Connect the red cable clamp to this unhooked wire exposed end.
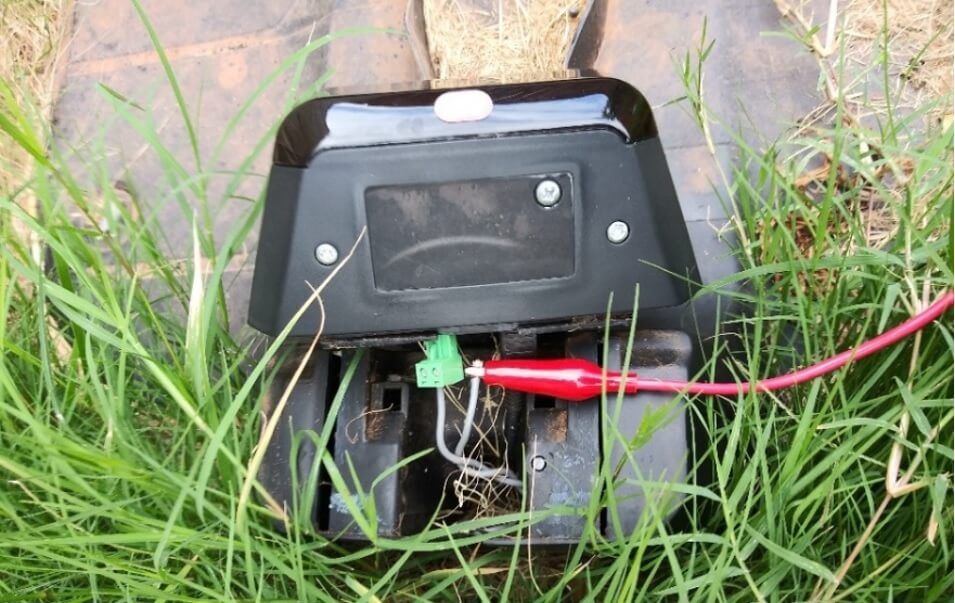
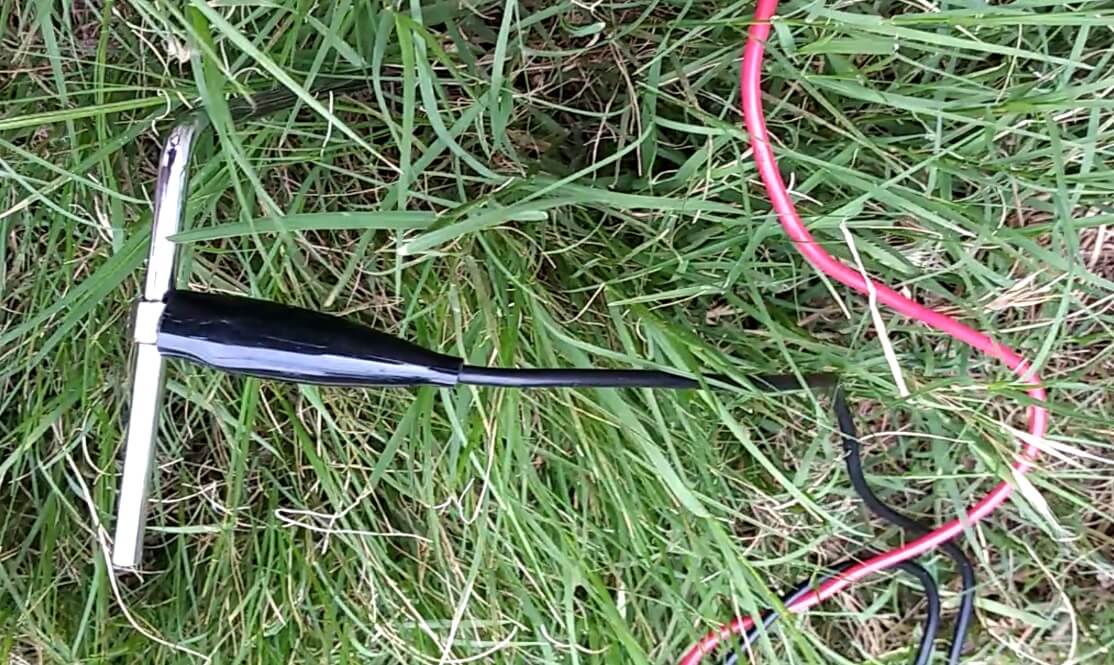
- Stick the grounding metal stake to the ground near the docking and clamp on to it the black wire clamp – see picture below.
Note: It’s ok to connect black clamp to any of the base station metal stakes as well, as the metal stake is inserted well into the ground.
- Turn on the transmitter and make sure its red light blinks as it should when it has good grounding. See video again if needed.
- Connect the antenna plug to the bottom of the yellow wire locator device, turn it on and get the volume to a comfortable level.
- You can walk straight and simply lower the antenna to a few inches above the grass by holding its cable in one hand and lowering the antenna head down.
- At the base station area, find one side of the perimeter wire that is alive by hearing the clicking sound of the finder. Walk along the wire until the clicking level goes down and while pinpointing the cut wire location, by moving the antenna above the presumed wire location, until the sound disappears.
- Dig up the wire on one side of the cut area and pull it out until the cut or bad splice are found.
- Fix the cut, and we highly recommended using our original blue silicone filled splices.
- Go to the base station and make sure its light changed from blinking red to blinking green. If so, the issue has been solved.
- In the event you don’t have the wire locator tool to find the break in the wire:
- Use a new piece of wire which will be long enough to get from the base station head to the middle of the yard or middle of installed wire loop.
- Expose half an inch of both ends of the new wire and connect one side of this new wire to one side of the base station green plot connector. Leave the other side of the green plot connector attached to the other end of the perimeter wire.
- Connect green plot connector to the base station head.
- Place a helper or assistant by the base station head. Their job is to tell you when the base station head light changes from red to green.
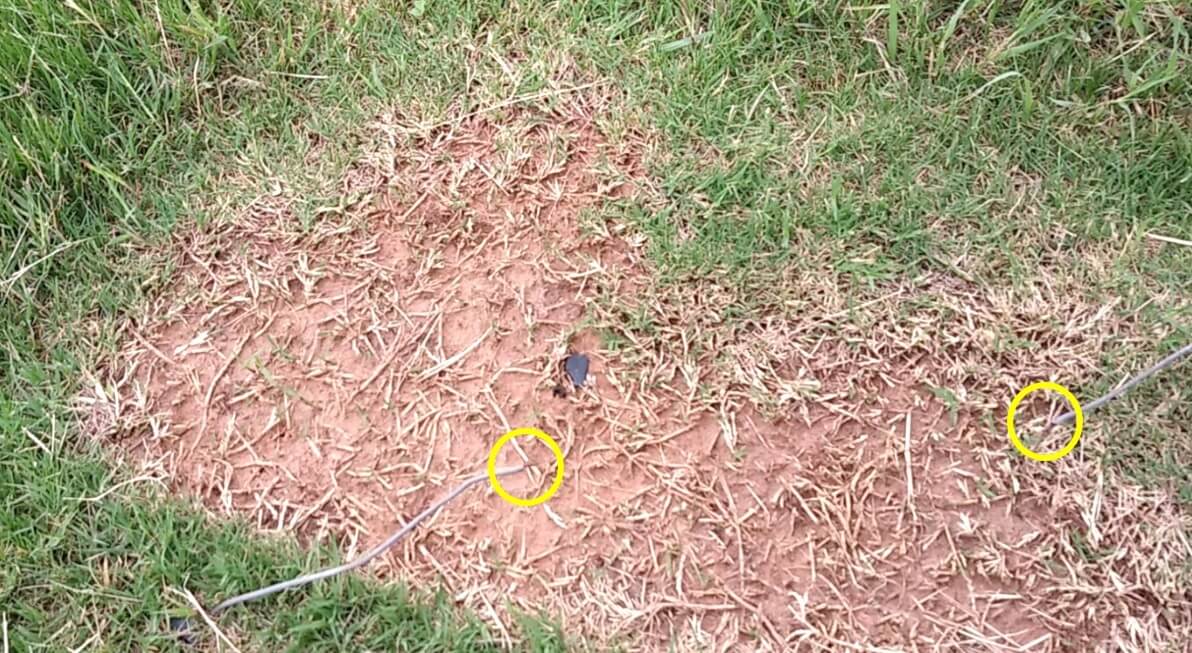
- Walk with this new wire to roughly the middle of the lawn wired area. Find the wire, and using a paper cutting knife expose a small piece of the wire installation (see illustration). Touch your new wire copper tip to the exposed copper wire – copper touching copper – and ask your helper whether base station head light changed to green. If not, continue to the middle of this half of the wire and do the same. Continue doing this procedure until the base station head light changes to green. This will tell you roughly in what part of the installed wire the cut is. Keep doing this on the area you found the break in and finally you will find the cut in the wire by pulling it out to expose the cut or bad splice.
- Couldn’t find the break? Install a new perimeter wire – recommended, if possible, without splices in it.